How do I create and send messages?
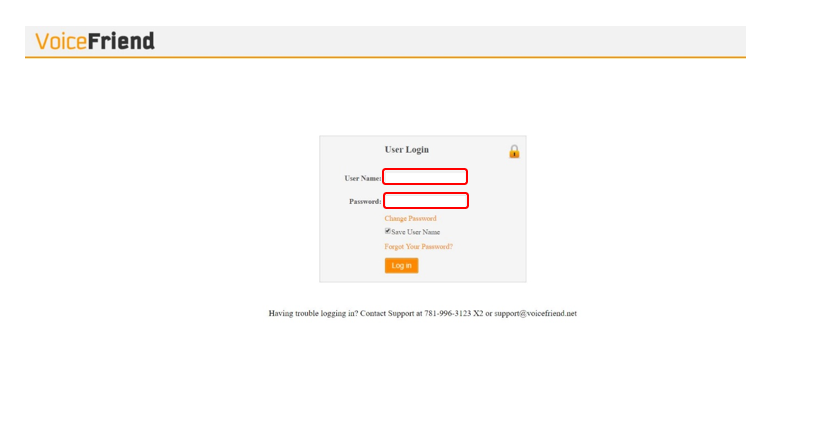
1. Enter your VoiceFriend username and password.
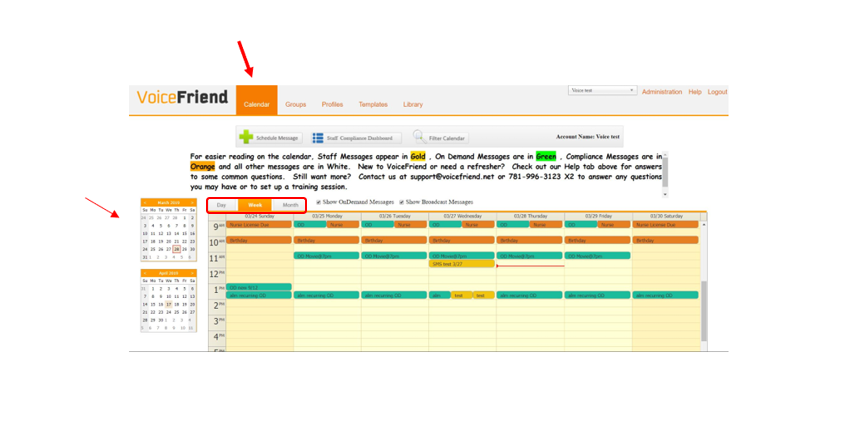
3. On the left side above the calendar, you can change the view to look at a specific Day, Week or Month. To change months on the calendar, use the smaller calendars on the left hand side.
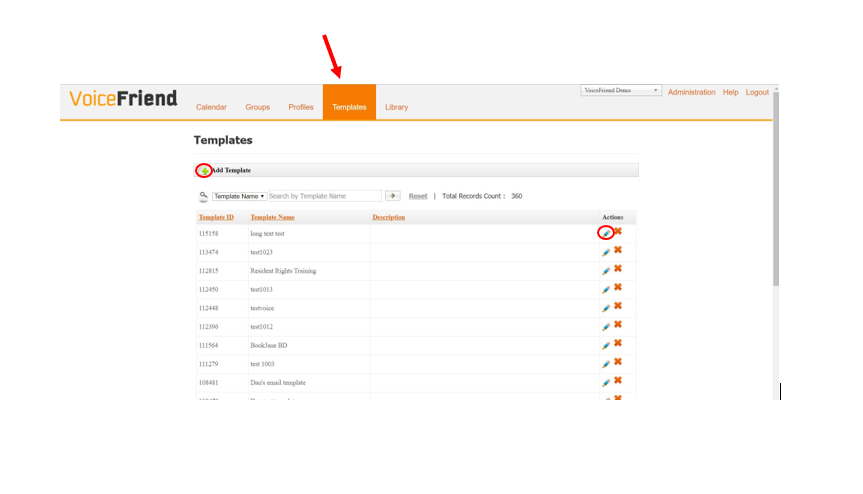
4. To create a message, click on tab marked Templates.
5. If the Template you want to use already exists you can edit it by selecting the Pencil icon to the right of the template. To create a new template, click on Add Template next to the green plus symbol.
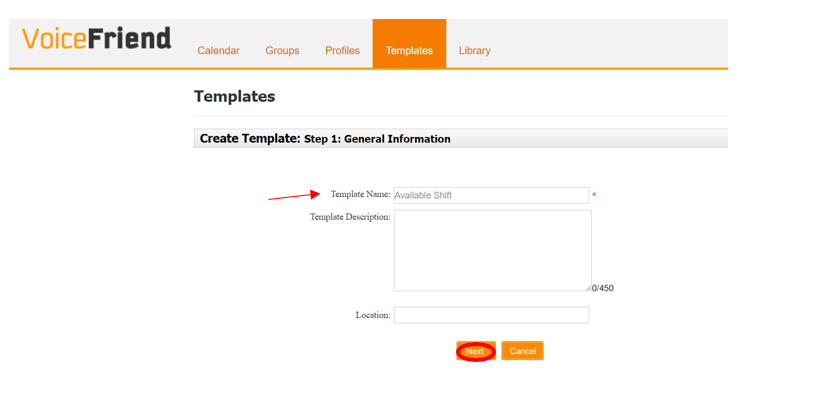
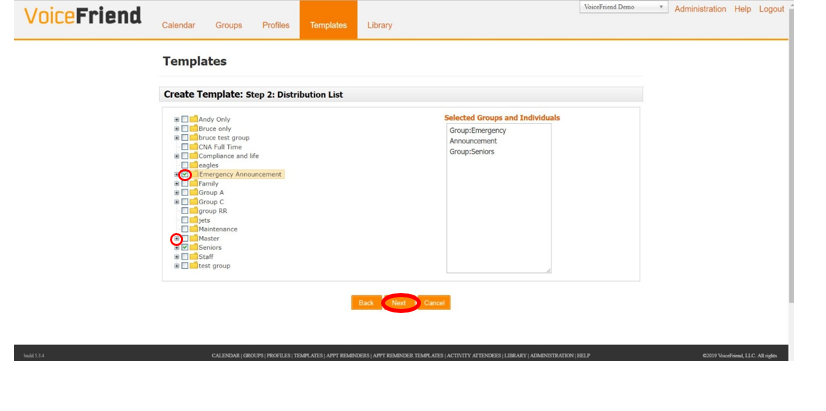
7. Select who you would like to send the message to. You can select an entire group(s) by checking off the box to the left of the group, or you can send the message to just one or a few members of a group. To select them, click the plus symbol to the left of the group and it will display an expanded list. Click the box to the left of the individual(s) that you wish to send the message to. Select Next at the bottom of the screen when you are done.
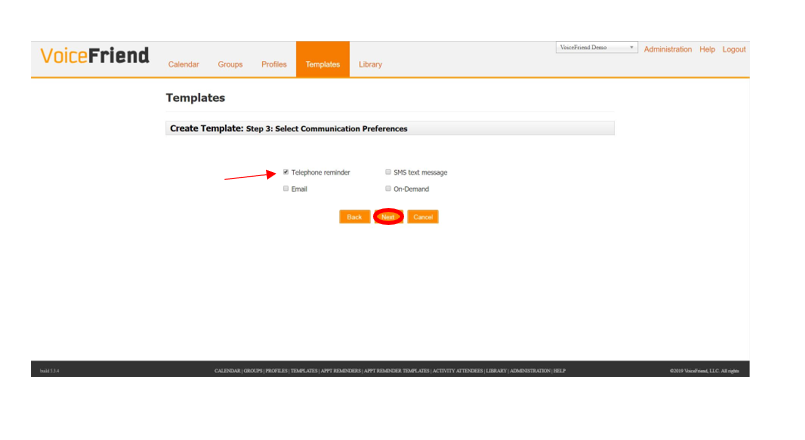
8. Select the type of message you want to send. You can send a Telephone Reminder, Email, Text Message, On-Demand or any combination of those. Once you select how you want your message to be sent, click Next.
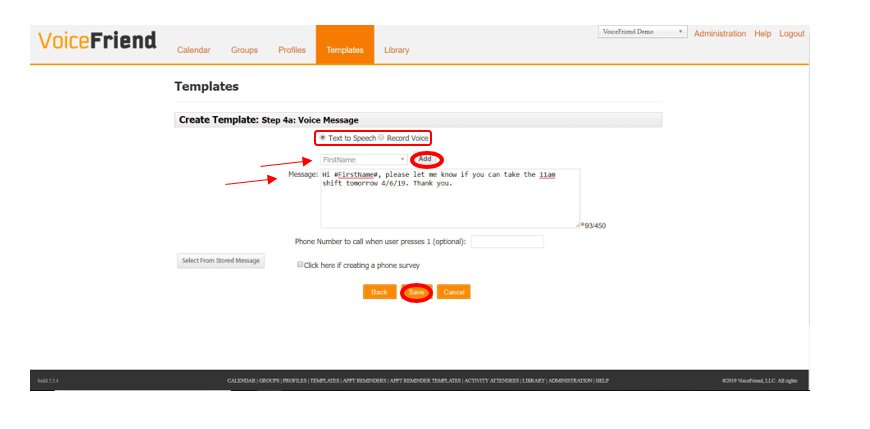
9. On this screen, type what you want your message to say. Since Telephone Reminder was selected on the previous screen, you must choose either Text to Speech or Recorded File. The example above shows Text to Speech where our synthetic voice will speak the message. When creating Text to Speech messages, you can select Merge Fields, from the drop down menu and click the Add button to put them into message (for example, the individual's first name). Next, type your message into the box. When finished, Click Save at the bottom of screen (or TEMPLATE will NOT be saved).
Alternative Recorded File Message Instructions:
10. If you want to record a message with your own voice, follow the steps below to for the Recorded File message instead of the Text to Speech instructions.
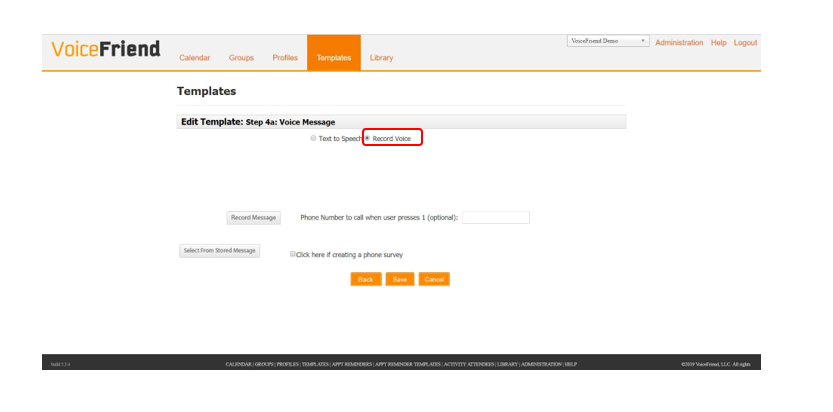
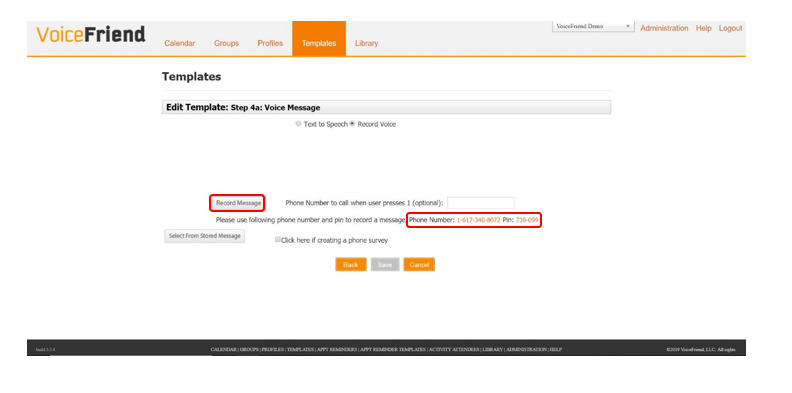
11. To record a message with your voice, click the circle to the left of Record Voice as shown above. Next click the button in the box labeled, Record Message. A Phone Number and Pin Number will then display in the space below Record Message.
12. Dial the phone number to connect to the Voice Recording Studio. When prompted, type in the PIN number shown next to the phone number on the screen and then record your message. After you finish recording, press the “#” key on phone to end the recording. If you like your message - Press 1. If you need to re-record your message - Press 2. Wait until you hear the prompt “Thank you, your message has been saved”, then hang up the phone.
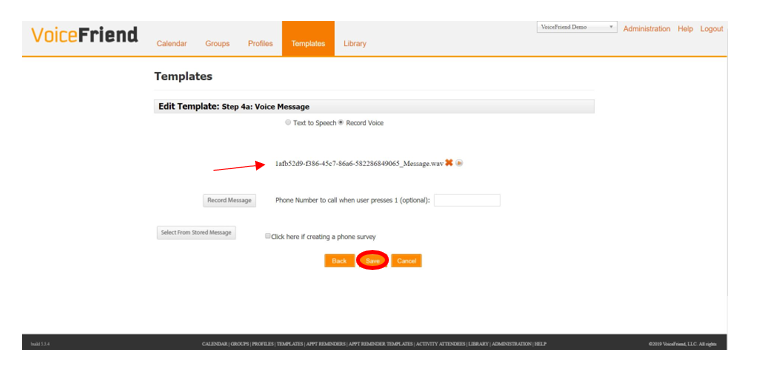
13. Wait for the .WAV file to show on your screen containing your message. Do not click Save until .WAV file is visible in center of your screen. Then click Save.
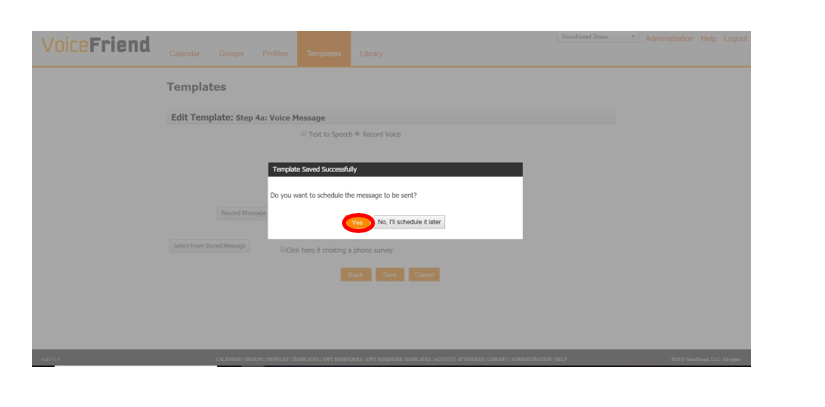
14. If you are ready to schedule your message, press "Yes". If you want to save your template and schedule the message at a later time, then click "No, I’ll schedule it later".
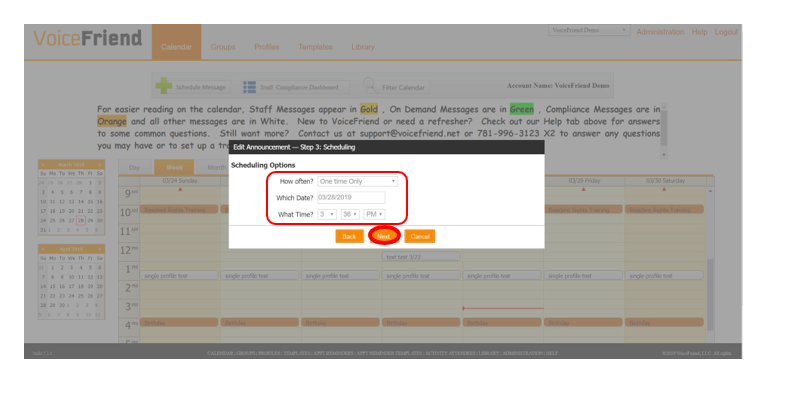
15. Now choose how often you want to send out your message (One Time Only or Recurring message). Next select the date and time you want the message to go out. Click Next.
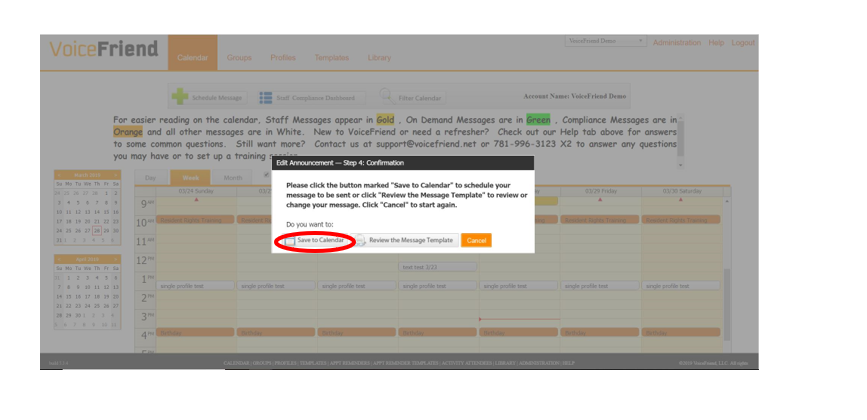
16. At this step - you can either "Review the Message Template" (if you want to edit it) or click "Save to Calendar" to send your message now. If you select Cancel, your message template will be saved, but it will not be sent until you schedule it later to the calendar.